
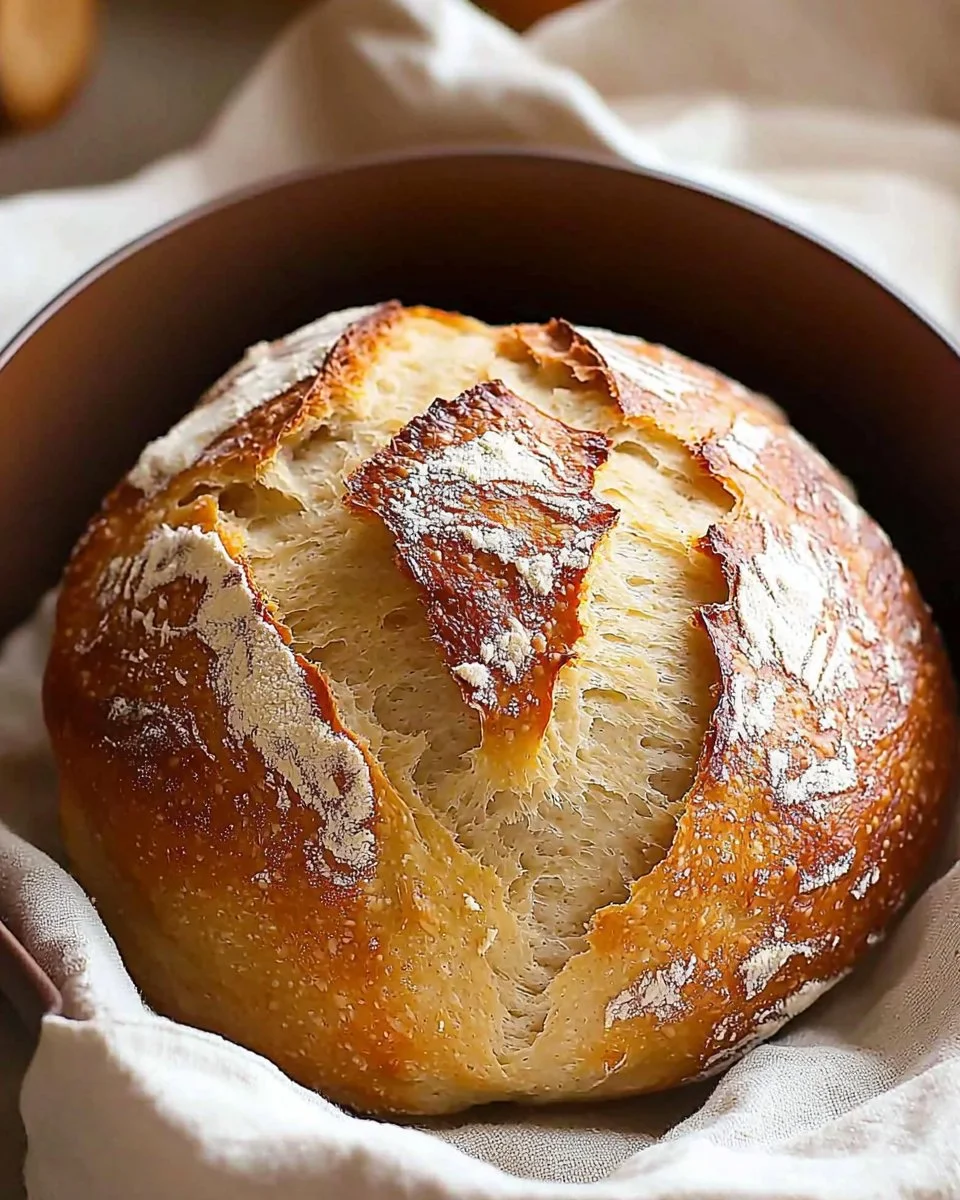
Imagine pulling a freshly baked loaf of bread out of the oven, the crust crackling and the aroma wafting through your kitchen. This World’s Easiest Yeast Bread Recipe – Artisan, No Knead takes minimal effort and delivers maximum flavor in just a few hours. The secret to its success lies in the simplicity of the technique and the long fermentation, yielding a crusty, artisan-style bread that rivals bakery offerings.
This recipe is perfect for anyone from beginners to seasoned bakers looking to whip up a delicious loaf with minimal hands-on time. It’s ideal for gatherings or cozy family dinners, and you can even prepare the dough ahead of time and refrigerate it for enhanced flavor.
Why You’ll Love This Recipe
- No kneading is required, making it accessible for all skill levels.
- The long rise creates a crispy crust and chewy interior.
- It only takes a few hours from start to finish.
- Minimal cleanup means more time enjoying your bread.
What You’ll Need
Gather these ingredients to make your bread:
For the Dough
- 3 cups (450g) flour, bread or plain/all-purpose
- 2 tsp instant or rapid rise yeast
- 1 1/2 tsp cooking salt / kosher salt, HALVE if using table salt
- 1 1/2 cups (375 ml) very warm tap water, NOT boiling or super hot
For Dusting
- 1 1/2 tbsp flour
Note: Use bread flour for extra structure and chewiness.
Substitutions & Swaps
- Any flour can be used for a different texture.
- Use active dry yeast, but activate first.
- Substitute water with milk for richer flavor.
- Swap kosher salt with sea salt, same amount.
How to Make It
Simple steps lead to delightful bread.
1. Mix Dough
Combine flour, yeast, and salt in a large bowl. Pour in warm water, then stir with a wooden spoon handle until no flour remains. The dough should be wet and sticky.
2. Rise
Cover the bowl with cling wrap or a plate and let it sit at room temperature for 2-3 hours until doubled in size and bubbly. If it isn’t rising after an hour, find a warmer spot.
3. Chill (Optional)
If desired, refrigerate the dough for up to 3 days for flavor development. Before baking, let it sit at room temperature for 45-60 minutes to warm up.
4. Preheat Oven
Preheat your oven to 230°C/450°F (220° fan) and place a Dutch oven with the lid on inside to heat up for 30 minutes.
5. Shape Dough
Dust your work surface with 1 tbsp of flour, then transfer the dough from the bowl. Sprinkle the top with an additional 1/2 tbsp of flour and fold the sides toward the middle to create a round shape.
6. Transfer to Paper
Slide a large piece of parchment paper next to the dough, flip it seam-side down onto the paper, and reshape into a round loaf. Don’t worry about perfection; lopsided shapes add character!
7. Place Dough in Pot
Carefully remove the hot Dutch oven from the oven. Use the parchment to transfer the dough into the pot, cover it with the lid, and return it to the oven.
8. Bake
Bake the bread covered for 30 minutes, then uncover and bake for an additional 12 minutes until the crust is deep golden brown and crispy.
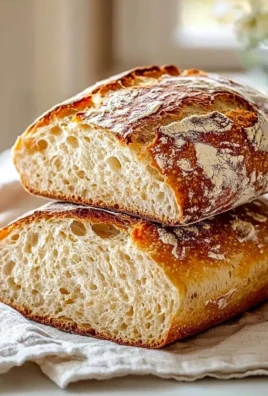
9. Cool and Slice
Allow the bread to cool on a rack for 10 minutes before slicing into it.
How to Store It
Fridge: Store in an airtight container for up to 3 days.
Freezer: Yes, freeze for up to 3 months for best freshness.
Reheat: Warm in the oven at 175°C/350°F for 5-10 minutes.
Tips for Best Results
- Ensure the water temperature is warm, not hot, for proper yeast activation.
- Let the dough rise until it’s noticeably puffy and bubbly for best texture.
- Use parchment paper to prevent sticking when transferring to the pot.
- Experiment with herbs or cheese mixed into the dough for extra flavor.
Serving Suggestions
- Serve with olive oil and balsamic vinegar for dipping.
- Pair with soups, salads, or charcuterie boards for an elegant touch.
- Use for sandwiches, toasted with your favorite toppings.


Leave a Comment