
The smell of toasted crackers mingling with melted cheese and savory pepperoni always brings back memories of childhood lunches. The DIY Pizza Crackers Lunchable is quick to assemble, taking just a few minutes, and appeals to both kids and adults alike. It’s a perfect blend of fun and flavor, ensuring that you enjoy a playful twist on traditional pizza.
This recipe is great for parents looking to pack a delightful lunch for their kids or anyone craving a simple snack. It’s ideal for busy weekdays, picnics, or after-school treats. Prepare it in advance and keep it in the fridge until you’re ready to enjoy or pack it for a lunch outing.
Why You’ll Love This Recipe
- Crunchy crackers provide a satisfying texture against melty cheese.
- It’s a fun, interactive meal that kids can assemble themselves.
- Each component can be customized with toppings to suit individual tastes.
- Perfectly portable, making it ideal for lunches on the go.
What You’ll Need
Gather the ingredients for this fun lunchable-style treat:
For the Crackers
- 10 whole crackers, your choice of flavor
For the Cheese and Toppings
- 4 slices cheese, sliced
- 10 slices pepperoni or other favorite toppings
For Dipping
- 1/4 cup pizza sauce, store-bought or homemade
For Vegetables (optional)
- 1/2 cup vegetables, cut (like bell peppers or carrots)
Use gluten-free crackers for a gluten-free option.
Substitutions & Swaps
- Use deli meats instead of pepperoni.
- Swap cheese for a dairy-free alternative.
- Substitute pizza sauce with hummus for a twist.
- Add olives or pickles for extra flavor.
How to Make It
Assemble your DIY Pizza Crackers Lunchable in a few easy steps.
Pack the crackers
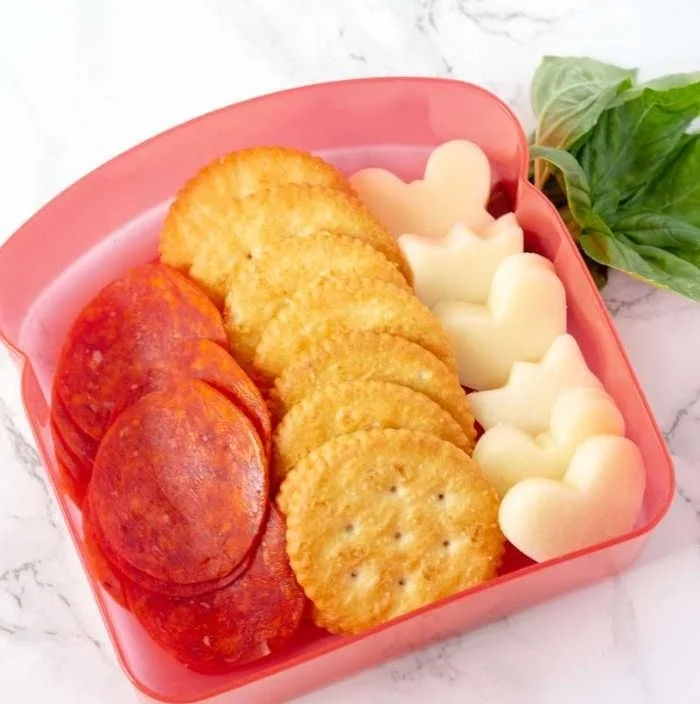
Place the whole crackers in a lunchbox, ensuring they are in a single layer to prevent breaking.
Add cheese and toppings
Layer the slices of cheese on top of the crackers and arrange the pepperoni or other toppings alongside.
Include pizza sauce
Spoon the pizza sauce into a small, sealable container and place it in the lunchbox for dipping.
Add vegetables (optional)
If desired, arrange the cut vegetables in a section of the lunchbox for a crunchy side.
Seal and store
Close the lunchbox tightly and store it in the refrigerator until you’re ready to pack for lunch.
How to Store It
Fridge: consume within 3 days in an airtight container.
Freezer: no, it doesn’t freeze well due to the freshness.
Reheat: not applicable; enjoy cold or at room temperature.
Tips for Best Results
- Choose whole grain crackers for added nutrition.
- Use a variety of cheeses to keep flavors interesting.
- Ensure toppings are lightweight to avoid crushing the crackers.
- Consider packing a mix of vegetables for color and variety.
Serving Suggestions
- Pair with fruit kabobs for a balanced meal.
- Serve alongside yogurt for a creamy contrast.
- Enjoy with a lemonade for a refreshing lunch experience.




Leave a Comment